🔗 Managing Local State With apollo-link-state and React Native
In this article we’re going to build a simple counter app to learn the basics of apollo-link-state and how we might use it to manage the local state of our apps. GraphQL is a fantastic and modern approach for dealing with data in your apps. Before you continue, it’s worth making sure you have a basic competency with GraphQL, Apollo and also React Native.
What is apollo-link-state?
apollo-link-state is a middleware for the Apollo stack that allows us harness the power of GraphQL to manage our local app state. Traditionally you might have been using Redux, MobX or even setState to manage your local app state. In this article I’ll show you how apollo-link-state allows us to either replace or complement these technologies.
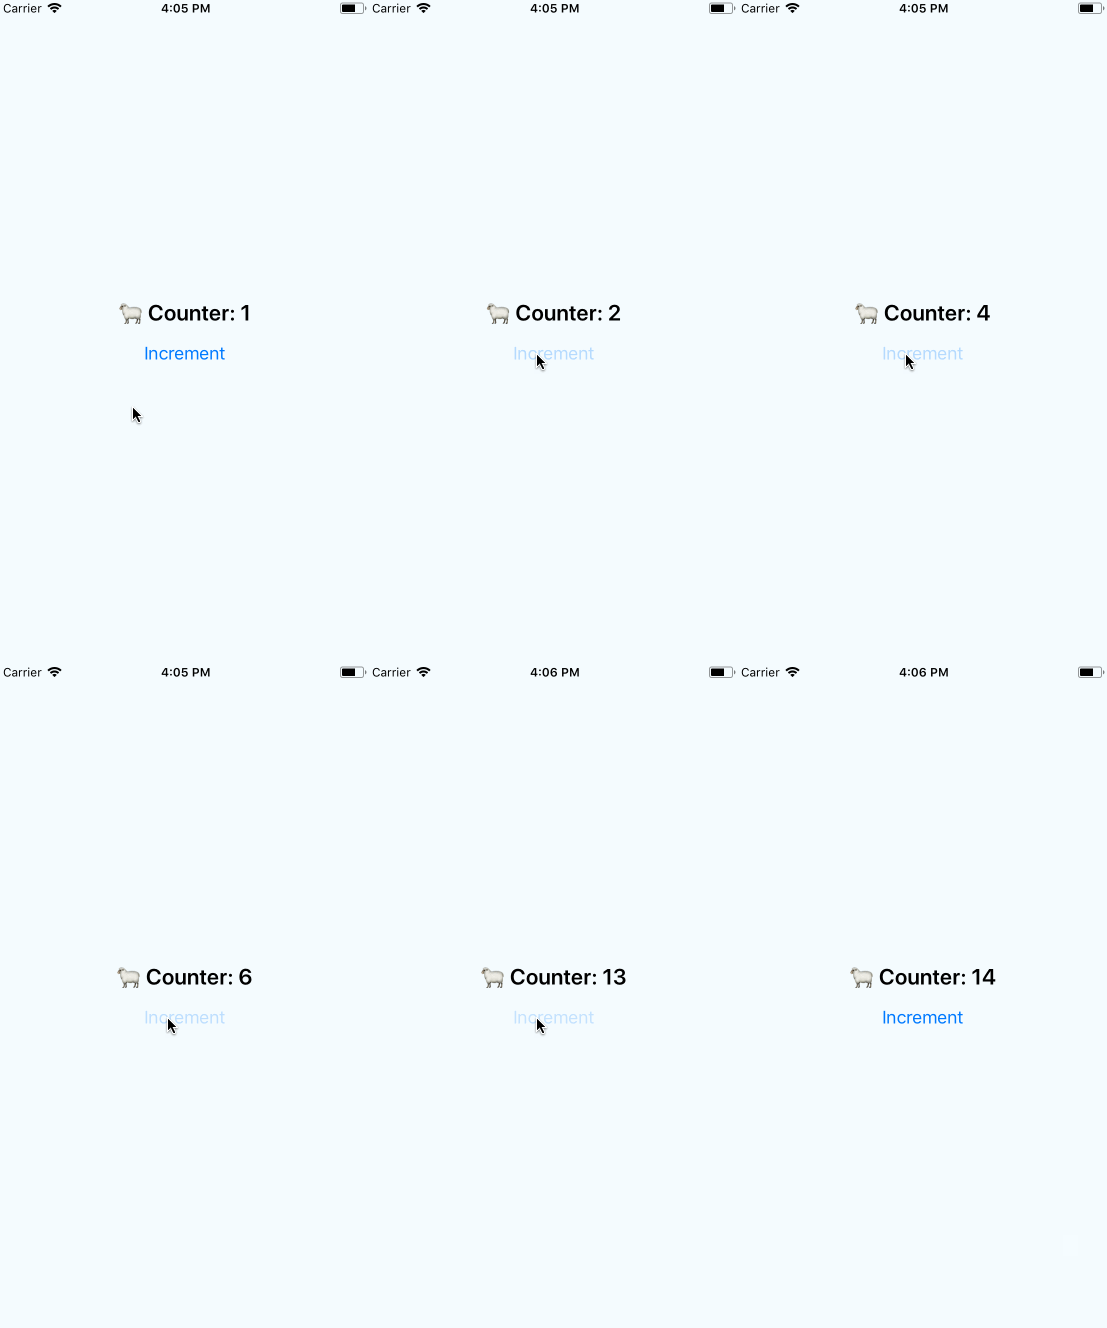
So what are we going to build? We’re going to build a simple counter that increments when you press a button. Whilst this probably won’t blow the socks off the interviewer in your next job interview, it does serve as a simple example to learn the basics.

The counter application
Build It
Lets get building! The app is composed of 2 main React components: the Counter and the IncrementButton. Let’s take a look at the Counter:
const Counter = graphql(gql`
  {
    counter @client {
      value
    }
  }
`)(
  class extends Component {
    render() {
      return (
        <View style={styles.container}>
          <Text style={styles.counterText}>{`🐑 Counter: ${
            this.props.data.counter.value
          }`}</Text>
          <IncrementButton />
        </View>
      );
    }
  }
);
If you’re up to speed with GraphQL and Apollo this should look very familiar. In fact, this is a completely normal way to bind data to our component. The only difference is the use of the @client directive. This is a little bit of magic that tells Apollo to resolve the counter data locally, rather than by resolving it from a remote GraphQL server.
The component simply renders some text with the integer value of the counter that we receive from the query.
Let’s take a look at the next component, the IncrementButton:
const IncrementButton = graphql(gql`
  mutation incrementCounter {
    incrementCounter @client
  }
`)(
  class extends Component {
    onIncrementPressed = () => {
      this.props.mutate({});
    };

    render() {
      return <Button title="Increment" onPress={this.onIncrementPressed} />;
    }
  }
);
Just like the previous component, this is just a regular GraphQL-bound component. Again, notice the use of the @client directive which tells the Apollo client to resolve this mutation locally. This component doesn’t render any dynamic data, but rather executes a mutation when the button is pressed.
Local Resolvers
The real magic of apollo-link-state is the ability to wire up local resolvers to the Apollo client. This allows us to mix-and-match where we source our GraphQL data from: since GraphQL can request multiple fields simultaneously we can take advantage of this to request a mixture of local and remote state within the same query.
This article will only deal with the local example, but it would just be a case of omitting the @client directive for data that you wish to resolve remotely.
Let’s configure the local resolvers:
const stateLink = withClientState({
  cache,
  resolvers: {
    Mutation: {
      incrementCounter: (_, args, { cache }) => {
        const { counter } = cache.readQuery({
          query: gql`
            {
              counter {
                value
              }
            }
          `
        });

        const data = {
          counter: {
            __typename: "Counter",
            value: counter.value + 1
          }
        };

        cache.writeData({ data });

        return null;
      }
    }
  },
  defaults: {
    counter: {
      __typename: "Counter",
      value: 1
    }
  }
});
This resolver is equivalent to one you might implement in a backend version of this API. The main difference here is that it resides locally within the application and no network communication is required to resolve the data.
There’s quite a lot going on here so lets break it down into several steps. First, we implement the resolver for counter.
This works by reading the current value from the cache (using a GraphQL query 😎):
const { counter } = cache.readQuery({
  query: gql`
    {
      counter {
        value
      }
    }
  `
});
Now that we’ve got the existing value we can increment it to create the new value. We insert this data back into the cache:
const data = {
  counter: {
    __typename: "Counter",
    value: counter.value + 1
  }
};

cache.writeData({ data });
This completes the logic for our local resolver. However, we first need to make sure that we have some initial values in the cache when the app first launches. This is equivalent to your initial store state if you’re using Redux:
defaults: {
  counter: {
    __typename: "Counter",
    value: 1
  }
}
Now we’re cooking with 🔥. The final step is to tell the Apollo client about our local resolvers:
const client = new ApolloClient({
  cache,
  link: ApolloLink.from([stateLink, new HttpLink()])
});
I’ve skipped over the code for some of the initial setup and imports to brevity. You can checkout the full working sample of the application from this repository.
Checkout and run the code locally. You’ll be up and running with a simple apollo-link-state example that demonstrates the potential of managing your app state locally by harnessing the power of GraphQL.
Wrapping Up
In this article we’ve built a simple counter application using apollo-link-state. I hope that this gives you some food for thought on how you might be able to incrementally adopt this in your project and harness the power of GraphQL even if you don’t have or need an API in your application.
Here are some other awesome things you can do with this library:
- Use asynchronous resolvers: our example is synchronous but it could easily return a Promise
- Mix and match local and remote data within a single query
- Incrementally adopt GraphQL by interfacing your local resolvers with Redux, MobX and any other state management solutions
- Take advantage of out-of-the-box offline cache persistence